Chipped paint can be an eyesore, detracting from the overall appearance of your home or furniture. Fortunately, repairing chipped paint is a straightforward process that can revitalise surfaces and protect them from further damage. In this article, we will explore the essential steps and materials needed to effectively repair chipped paint, ensuring a seamless finish that blends perfectly with the existing surface.
Understanding the Cause of Chipped Paint

Before diving into the repair process, it’s crucial to understand why paint chips in the first place. Chipping can occur due to several factors, including moisture intrusion, temperature fluctuations, and poor surface preparation prior to painting. Identifying the underlying cause will help in choosing the appropriate repair strategy and preventing future chips. Common reasons include:
- Humidity: Excess moisture can cause paint to blister and peel.
- Sun Exposure: UV rays can degrade paint, especially on exterior surfaces.
- Improper Application: Insufficient priming or multiple coats may lead to peeling.
- Wear and Tear: Frequent use and heavy foot traffic can naturally chip paint.
Materials Needed for Repair

To repair chipped paint effectively, you will need the following materials:
- Sandpaper: Fine and medium-grit for smoothing the area.
- Putty Knife: For applying filler or spackling compound.
- Paint Primer: Essential for providing a base layer before repainting.
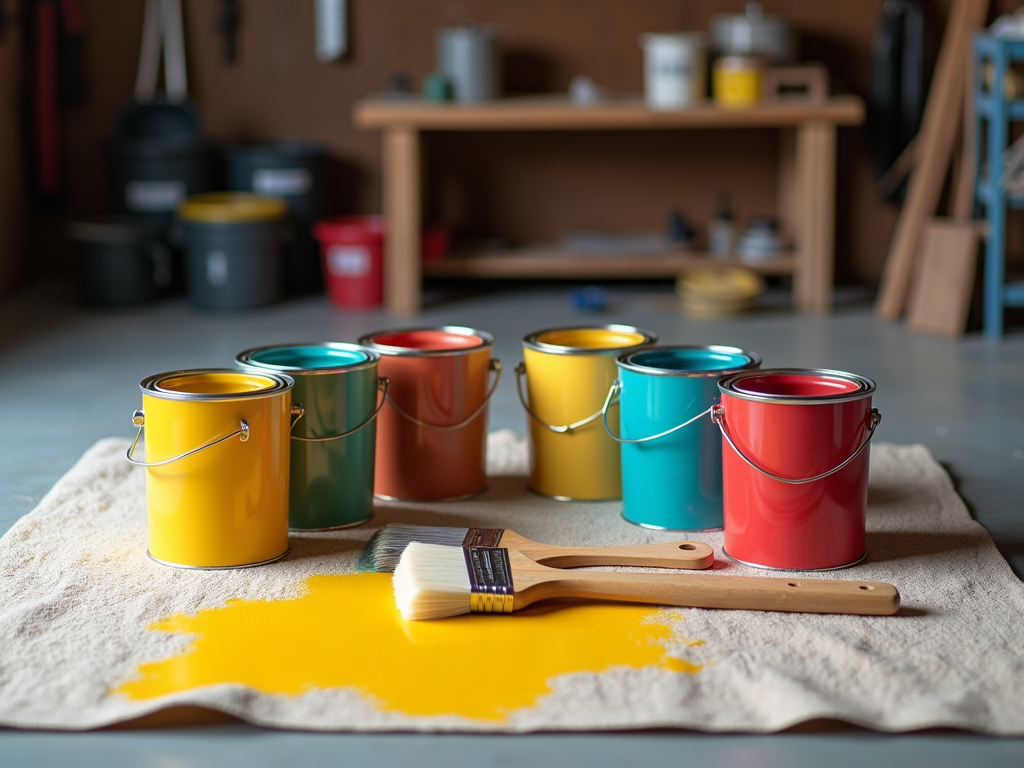
- Matching Paint: Ensure it matches the original color and finish.
- Paint Brush or Roller: For applying the final coat.
- Drop Cloths and Tape: To protect surrounding areas while you work.
Step-by-Step Guide to Repairing Chipped Paint
Here’s a comprehensive step-by-step guide to help you repair chipped paint successfully:
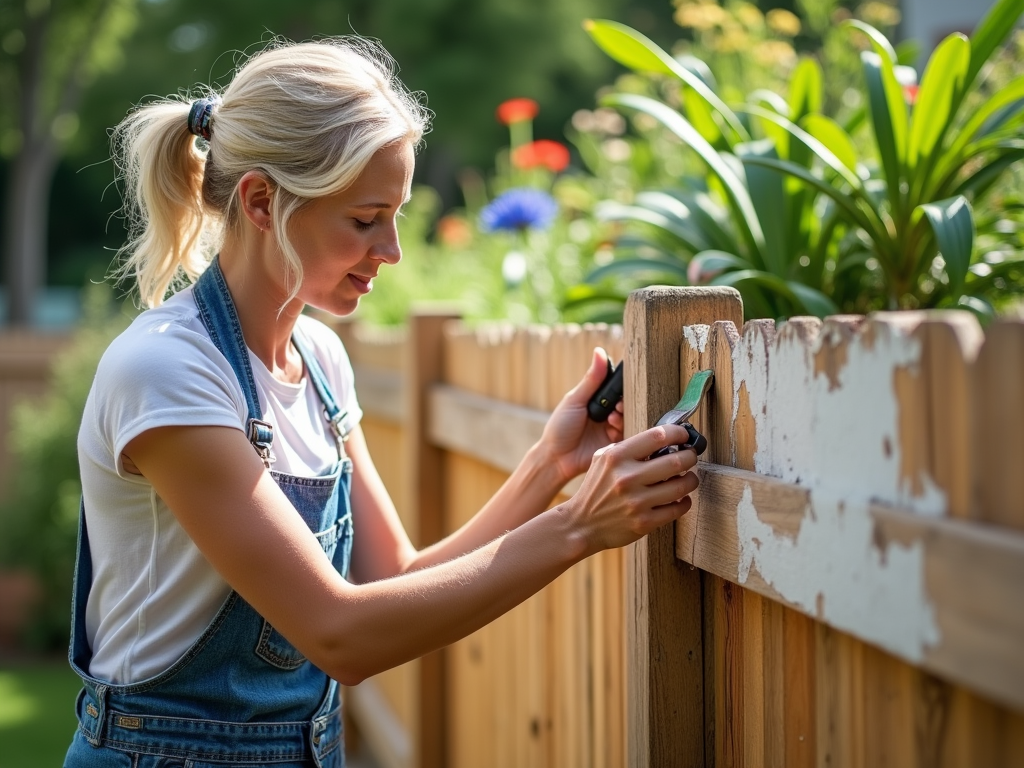
- Prepare the Area: Begin by cleaning the surface around the chipped paint. Remove any loose paint, dirt, or dust using a soft cloth, and lay down drop cloths to protect surrounding areas.
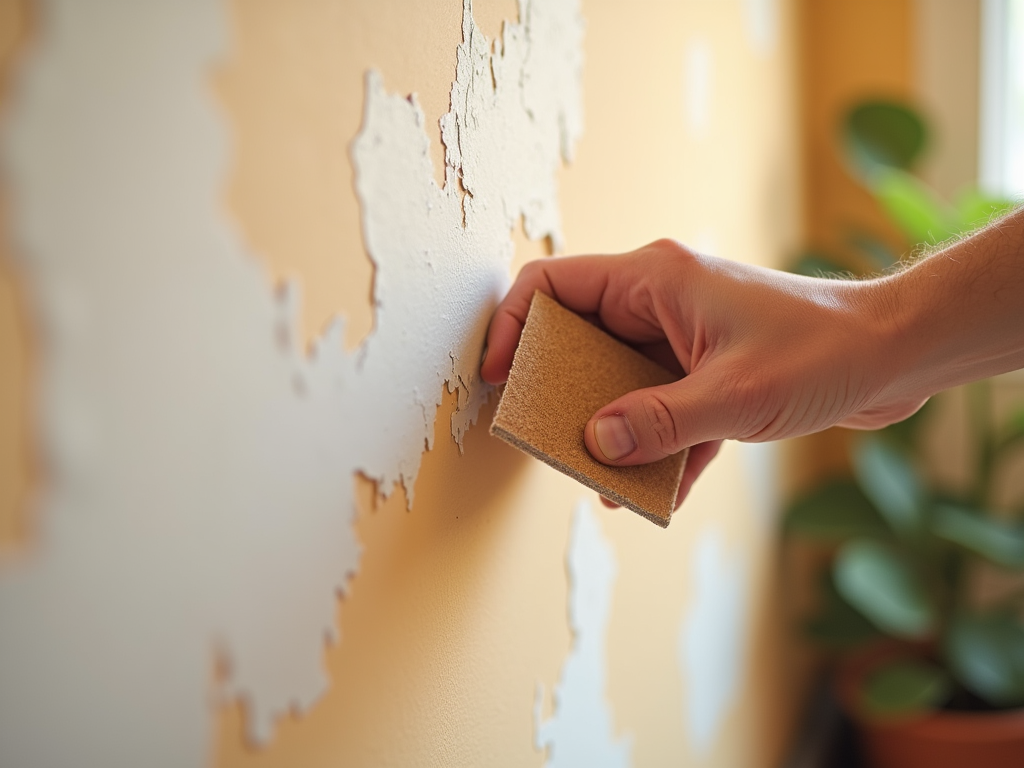
- Sand the Chipped Area: Using medium-grit sandpaper, gently sand around the chipped edges to create a smooth surface. Follow this with fine-grit sandpaper to soften any rough spots.
- Apply Filler (if necessary): If there is a large chip or divot, use a putty knife to apply a spackling compound. Allow it to cure according to the manufacturer’s instructions.
- Prime the Surface: Once the area is smooth and free of dust, apply a suitable primer to the chipped spot. This will help the paint adhere properly and provide a consistent finish.
- Paint Over the Primed Area: Once the primer is dry, use a brush or roller to apply matching paint to the repaired spot. It’s a good idea to apply two thin coats, allowing proper drying time between each.
- Finish Up: After the final coat has dried, remove the tape and drop cloths. Inspect your work and tidy up as needed.
To ensure your repair blends seamlessly with the surrounding area, consider the following tips:
- Select the Right Tools: Use a small brush for detailed work and a roller for larger areas.
- Color Matching: If you don’t have the original paint, take a sample to a paint store for a perfect match.
- Work in Good Lighting: This makes it easier to see any imperfections during the repair process.
- Patience is Key: Allow ample drying time between coats for the best result.
Conclusion
Repairing chipped paint is a manageable DIY task that can significantly enhance the aesthetic of your home or furniture. By understanding the causes of paint chips and following the outlined steps, you can achieve a professional-looking finish. Ensure you gather the right materials, take the time to prepare the surface correctly, and choose quality paint for the best results. With a little effort, those unsightly chips will be a thing of the past, and your surfaces will look as good as new.
Frequently Asked Questions
1. How can I prevent paint from chipping in the future?
To prevent paint chipping, ensure proper surface preparation, use quality paint products, and maintain your surfaces adequately. Avoid exposure to moisture and direct sunlight whenever possible.
2. Can I paint over chipped paint without priming?
It’s not recommended to paint directly over chipped paint without priming the area first, as this can lead to further chipping and peeling. Always primer to ensure adhesion.
3. What type of paint is best for repair?
Choose a paint that closely matches the original surface material and finish. For exterior surfaces, consider using weather-resistant paint for longevity.
4. How long does it take for paint to dry after repair?
Drying times depend on the specific paint and environmental conditions. Typically, acrylic paints may take 1-2 hours to dry to the touch, but it’s best to wait 24 hours before applying a second coat.
5. Is it worth hiring a professional for paint repairs?
If you’re uncomfortable with DIY repairs or the damage is extensive, hiring a professional may be worth it to ensure a perfect finish and prevent future issues.
