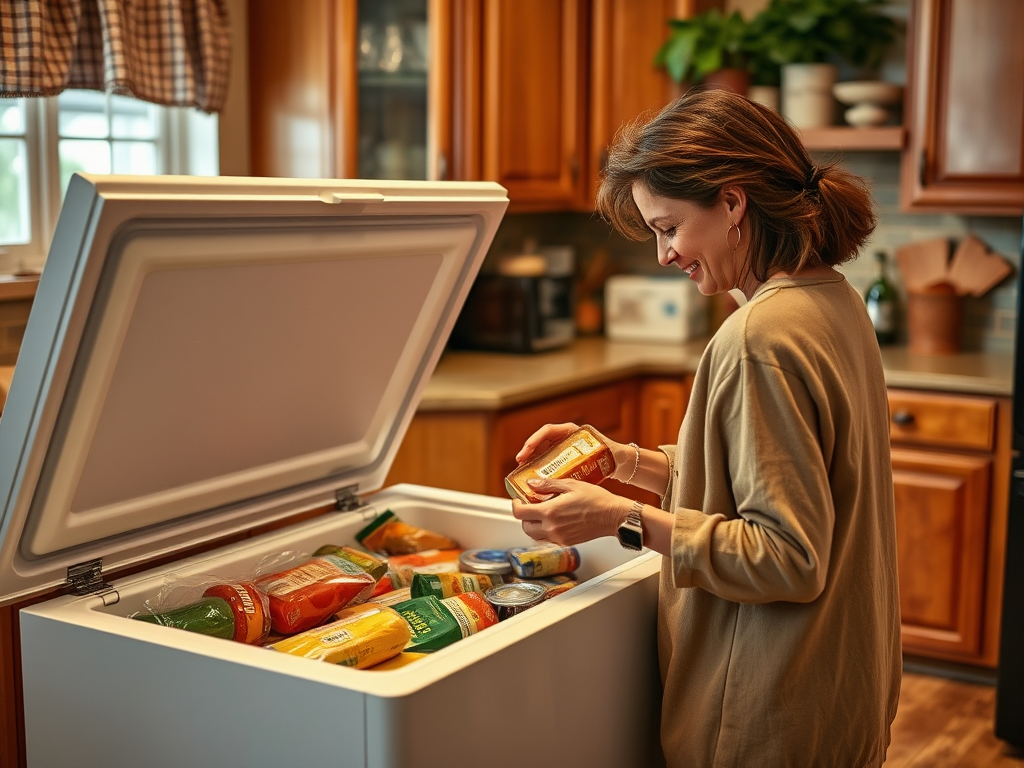
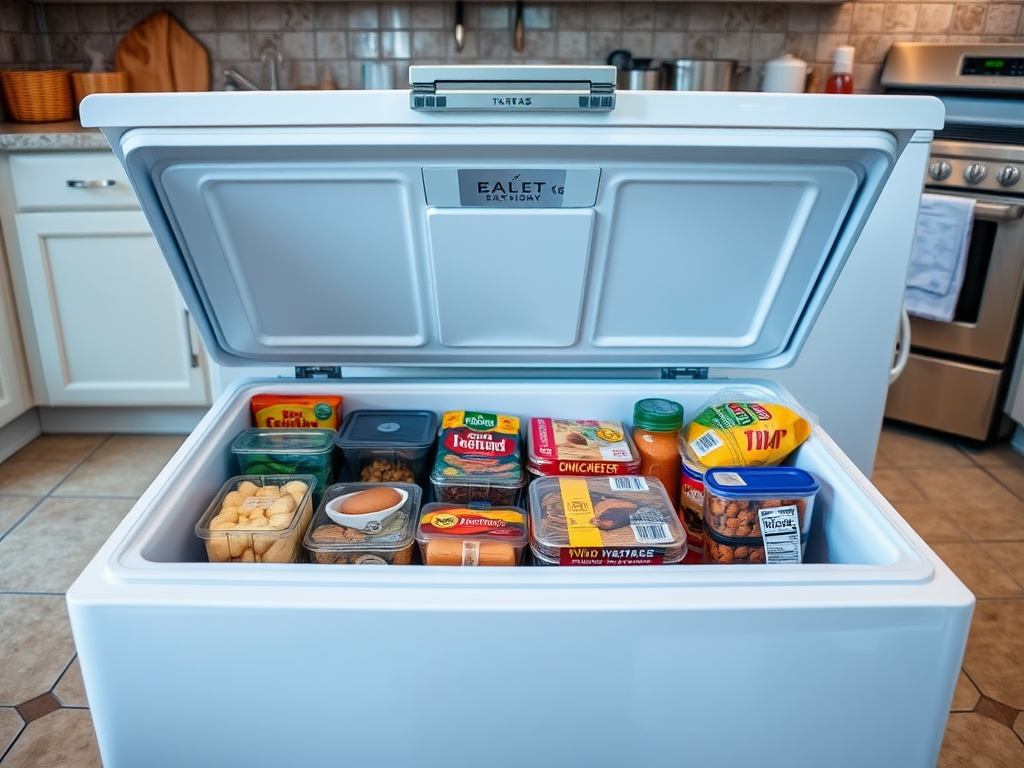
Every home chef knows the struggle: opening your chest freezer only to confront an avalanche of forgotten food and half-empty bags that seem to multiply overnight. The good news is that achieving a well-organized freezer is within reach, and it doesn’t even have to feel like a daunting task. With the right strategies and friendly dedication to the process, you can transform your freezer from a chaotic icebox into a clean, accessible storage haven for your culinary delights. Not only does an organized freezer save time during meal prep, but it also helps curb food waste and ensures you always remember what you have on hand. Imagine effortlessly locating your favorite frozen dinner or that batch of homemade soup—sounds delightful, right? Let’s dive into the systematic approach to decluttering your chest freezer.
Benefits of an Organized Chest Freezer

Having a well-ordered chest freezer can revolutionize the way you shop for groceries and prepare meals. First and foremost, it significantly enhances accessibility, allowing you to quickly locate the items you need without sifting through layers of frozen goods. Secondly, an organized freezer can help cut down on food waste. You’ll be less likely to forget about items buried deep within the frost, thus reducing spoilage. Additionally, a tidy freezer simplifies meal planning. With everything arranged into recognizable categories, you can efficiently devise your weekly menu and grocery list. Finally, it’s a mental relief! With a clean and orderly freezer, it’s much easier to maintain peace of mind in your kitchen.
When to Declutter Your Chest Freezer

Understanding the right time to declutter your chest freezer is key to keeping it organized. Look for clear signs indicating that it’s time to take action. If you find yourself rummaging through icy depths trying to find a specific item or if the freezer has become a black hole where things disappear, it’s probably due time. You might also notice that you frequently have to shove items aside, leading to a bit of a chilly disaster each time you open the lid. Additionally, if you discover expired food or items you don’t recognize, that’s an obvious cue for decluttering. Lastly, if you find an overabundance of frost buildup or ice, it’s a strong sign that you need to take a closer look inside.
Preparation for Decluttering
Before plunging into the decluttering process, ensuring everything is well-prepared is essential. Start by gathering a few crucial supplies that will help facilitate the process. You’ll need storage bins to group similar items, labels and a marker for organizing, and trash bags for any expired or unwanted food. Setting aside at least a couple of hours for this task will also prove invaluable; it’s one of those activities that demand time and patience. And don’t forget about safety: make sure to unplug your freezer if you’re planning a deep clean or if there’s excessive moisture involved. Now that you’re prepared, let’s dive into the fun part—decluttering!
Step-By-Step Decluttering Process
Empty the Freezer
To begin, completely empty out your chest freezer. This is crucial for both assessing your inventory and for effectively cleaning the interior. Lay everything out on your kitchen counter or nearby surface. As you remove items, take a moment to group them by type (meats, vegetables, prepared meals, etc.). This grouping will help you see what you have and how best to store it. Plus, it gives you a chance to assess what’s usable and what’s not.
Clean the Interior
Once the freezer is empty, it’s time for some thorough cleaning. Use a mixture of warm water and baking soda to effectively remove any stains or lingering odors. Remember to pay special attention to the corners and crevices where dirt and food particles tend to hide. This cleaning step can help prevent any potential cross-contamination between items in your freezer. After you’ve done a good scrub, it’s essential to dry the interior completely to avoid ice buildup.
Sort and Categorize
Now comes the fun part—sorting your food into logical categories! Organizing your items will simplify finding them later on, making meal prep a breeze. Here’s a list to get you started:
- Meats (chicken, beef, pork)
- Fruits (berries, bananas, mangoes)
- Vegetables (peas, corn, green beans)
- Prepared meals (soup, casseroles, sauces)
- Desserts (ice cream, frozen fruits)
Check Expiration Dates
As you sort through your inventory, make it a habit to check each item for expiration dates. Any expired or unidentifiable items that can’t be consumed should be discarded responsibly. Not only does this keep your inventory fresh, but it also promotes a healthier eating environment. When in doubt—if you can’t remember when it was purchased or what it is—err on the side of caution! Here’s a simple table you can use to easily track items that need checking:
| Item | Expiration Date | Action Needed |
|---|---|---|
| Chicken Breast | 01/15/2024 | Keep |
| Frozen Peas | 02/01/2024 | Keep |
| Frozen Soup | 12/15/2023 | Eat Soon |
| Ice Cream | 02/01/2023 | Discard |
Organize and Store
After sorting and checking items, you’re ready to organize! Invest in stackable bins or containers, which are excellent for maximizing space and keeping like items together. Use labels to indicate the contents and dates of items, which can save you much hassle in the future. As a tip, always place frequently used items at the top or in the most accessible spots. Less frequently used items can go in the back or on the bottom. This way, everything is easy to find and grab, leading to a much more efficient cooking experience.
Maintaining Your Decluttered Chest Freezer
Decluttering may feel like a labor of love, but it doesn’t end when you close the lid on your chest freezer. To maintain your organized space, establish a regular check-in routine. Setting a calendar reminder every 3-6 months will help keep it from becoming a chaotic dump again. Incorporating a system for new items can also facilitate better organization—always placing newly purchased items at the back ensures you rotate stock and use older items first. No one wants to discover a perfectly good meal only to find it gone bad at the bottom of the freezer! Finally, remember to keep an eye on any ice buildup. Addressing this quickly can save you from dealing with significant future messes.
Conclusion
In conclusion, decluttering your chest freezer is a rewarding endeavor that can lead to a much more efficient kitchen. By taking the time to follow the outlined steps, you’ll create an organized and accessible space that allows for easier meal preparation and reduced food waste. The process is not just about cleaning; it’s an investment in your culinary experience. With a little dedication and these tips at your disposal, you’ll wonder how you ever managed without a tidy freezer! Enjoy your decluttered space and happy cooking!
Frequently Asked Questions
- How often should I declutter my chest freezer? Aim to declutter every six months to a year or whenever you notice items piling up.
- What do I do with expired food? Discard it according to local waste regulations, or consider composting if possible.
- Can I use regular storage containers in my freezer? Ensure they are freezer-safe containers to prevent cracking or breaking at low temperatures.
- Is it necessary to unplug my freezer while cleaning? It’s not necessary for cleaning, but if you’re deep cleaning or using water, unplugging is advised for safety.
- How can I prevent ice buildup in my freezer? Regularly defrost your freezer, clean the seals, and avoid leaving the lid open for too long during loading and unloading.
