When it comes to enjoying refreshing beverages, the quality of your ice can make all the difference. Cleaning your ice maker not only enhances the taste of your drinks but also ensures the longevity of the machine. This article will guide you through the steps necessary to effectively clean your ice maker, ensuring you always have crystal-clear, great-tasting ice on hand.
Why Cleaning Your Ice Maker is Essential
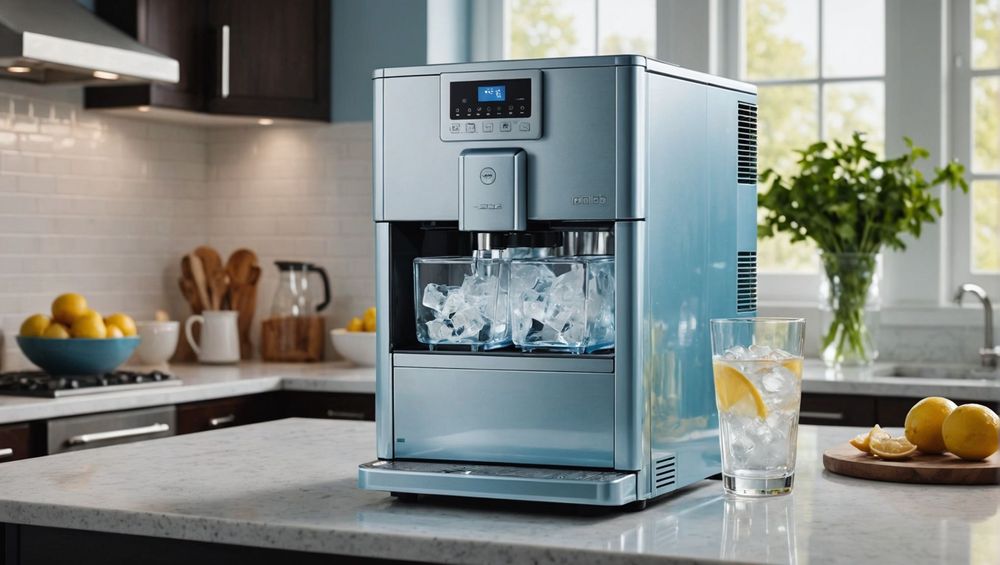
Many people overlook the ice maker as it operates quietly in the background. However, over time, it can accumulate bacteria, mold, and mineral deposits. These contaminants can lead to unpleasant smells and tastes in your ice, compromising the quality of your drinks. Regular cleaning also helps to prevent equipment malfunctions and extend the lifespan of your ice maker. In addition, a well-maintained ice machine operates more efficiently, saving you energy and money in the long run. Therefore, dedicating time to keep your ice maker clean is not just about taste but also about hygiene and functionality.
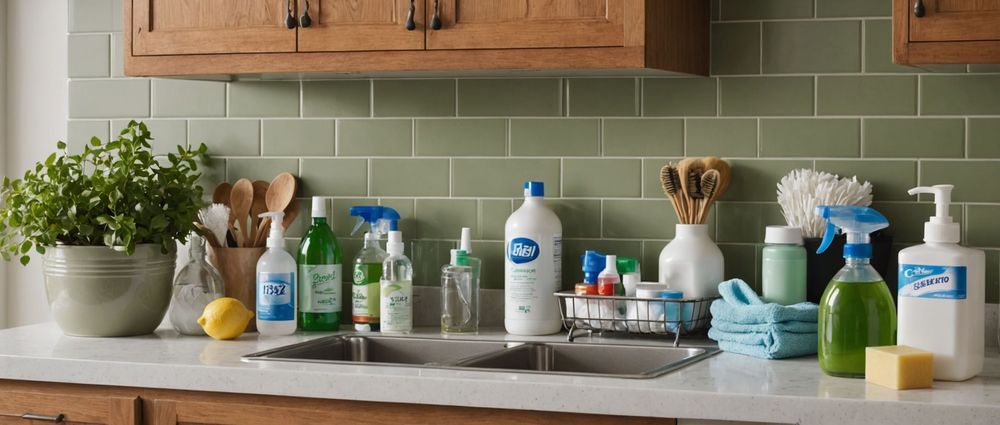
Gather the Necessary Supplies

Before you begin cleaning your ice maker, it’s important to gather all the necessary supplies. Having everything on hand will make the process smoother and more efficient. Here’s a quick list of what you will need:
- Warm water
- White vinegar or a specialized ice maker cleaner
- Soft cloths or sponges
- A toothbrush or small brush (for hard-to-reach areas)
- A bucket to catch excess water
Once you have your cleaning supplies ready, ensure that you follow safety precautions, such as unplugging the ice maker before starting the cleaning process. This will ensure your safety as well as prevent any unintentional damage to the machine.
Step-by-Step Cleaning Process
Cleaning your ice maker can be done in a few straightforward steps. Here’s how:
- Unplug the Ice Maker: Before starting, unplug your ice maker to enhance safety.
- Remove Ice and Water: Empty the ice bin and drain any leftover water using the bucket.
- Prepare the Cleaning Solution: Mix equal parts of warm water and white vinegar or use the ice maker cleaner as instructed on its label.
- Clean the Interior: Dip a cloth or sponge into the solution and thoroughly wipe down all interior surfaces, including the ice-making components.
- Brush Hard-to-Reach Areas: Use a toothbrush or small brush to scrub any stubborn stains or build-up in tight spots.
- Rinse and Dry: Wipe all surfaces with clean water to remove any cleaner residue, then dry everything with a towel.
By following these steps regularly, you’ll improve the quality of the ice produced, ensuring that your drinks always taste fresh and inviting.
Frequency of Cleaning
How often should you clean your ice maker? The answer typically depends on usage, but a good rule of thumb is to clean it at least once every three to six months. If you notice that your ice begins to develop an off taste or odor, it would be wise to perform a cleaning immediately. Additionally, if you live in an area with hard water, mineral buildup may occur more quickly, necessitating more frequent cleanings. Keeping an eye on the clarity and freshness of the ice can also serve as a gauge for when to clean. Lastly, always check your ice maker’s manufacturer guidelines, as they may provide specific recommendations on cleaning frequency and methods.
Other Tips for Maintaining Your Ice Maker
In addition to regular cleaning, there are other best practices that can help you maintain your ice maker efficiently. Here are some key tips:
- Keep the ice bin covered: This helps reduce contamination from dust and odors.
- Use filtered water: If possible, use filtered or distilled water to produce your ice, reducing the amount of minerals that can build up inside.
- Monitor the temperature: Ensure the ice maker is in a cool environment; excessive heat can cause malfunction.
- Inspect regularly: Periodically inspect for any visible wear, tear, or unusual buildup which may require immediate attention.
By incorporating these tips into your routine, you’ll be able to maintain a clean and efficient ice maker, contributing to a better quality of your beverages.
Conclusion
Cleaning your ice maker is essential for ensuring a consistent supply of great-tasting ice. By following the outlined steps, gathering the necessary supplies, and adopting proactive maintenance practices, you can greatly enhance your ice-making experience. Prioritize cleanliness not only for the sake of taste but also for hygiene and equipment longevity. With just a little effort, you can enjoy refreshing drinks all year round with perfectly clean ice at your disposal. Remember, the quality of your ice directly influences the quality of your drinks, so don’t overlook this important task!
FAQ
- 1. How often should I clean my ice maker?
- Generally, it’s best to clean your ice maker every three to six months, but you should clean it sooner if you notice any off tastes or odors.
- 2. Can I use bleach to clean my ice maker?
- No, bleach is not recommended as it can leave harmful residues. Instead, use vinegar or a designated ice maker cleaner.
- 3. What if my ice maker has mold?
- If you notice mold, clean the entire unit thoroughly with a vinegar solution and ensure all components are scrubbed well. Dispose of any ice that was made prior to cleaning.
- 4. Is it necessary to unplug the ice maker before cleaning?
- Yes, unplugging is a safety precaution to avoid electrical hazards while cleaning the unit.
- 5. Can hard water damage my ice maker?
- Yes, hard water can lead to mineral buildup, which can reduce efficiency and affect the quality of your ice. Using filtered water can help prevent this issue.